 EN


How to organize bats and helmets inside a large baseball bag?
A large baseball bag can carry a surprising amount of equipment, but extra space alone does not create order. When bats, a helmet, gloves, cleats, balls, and small essentials share one open compartment, the gear you need first can end up at the bottom. A useful setup follows the player’s routine: load long items so they stay controlled, give the helmet a protected resting place, and reserve quick-access spots for the items used between the car and the field.
Think of organization as an access plan rather than a capacity contest. For a team equipment coordinator, the helpful question is not simply “Will it fit?” It is “What must come out first, and what should remain separated while the bag is full?” This approach also makes a large baseball bag easier to repack after practice.
Start with an equipment map, not the empty bag
Before loading, place the gear on the floor in groups: bats, helmet, glove, footwear, uniform layers, balls, and small personal items. This quick map reveals the awkward shapes. Bats are long and narrow; a helmet is wide, rigid, and easy to scuff if loose items roll against it. That is why a large baseball bag works better when each item has a purpose-built zone, even if the bag has only a few compartments.
- Long gear: bats, training sticks, or a fungo bat if one is being carried.
- Structured gear: helmet, catcher’s mask, or protective pieces that should not sit under heavy items.
- Soft gear: glove, uniform, towel, and batting gloves.
- Loose essentials: keys, phone, tape, sun protection lotion, scorebook items, and snacks.
Once these groups are visible, pack in order of shape and access. A deep main compartment is useful, but more precisely, it is useful when the loading order stays consistent from one trip to the next.
Give the bats their own stable lane
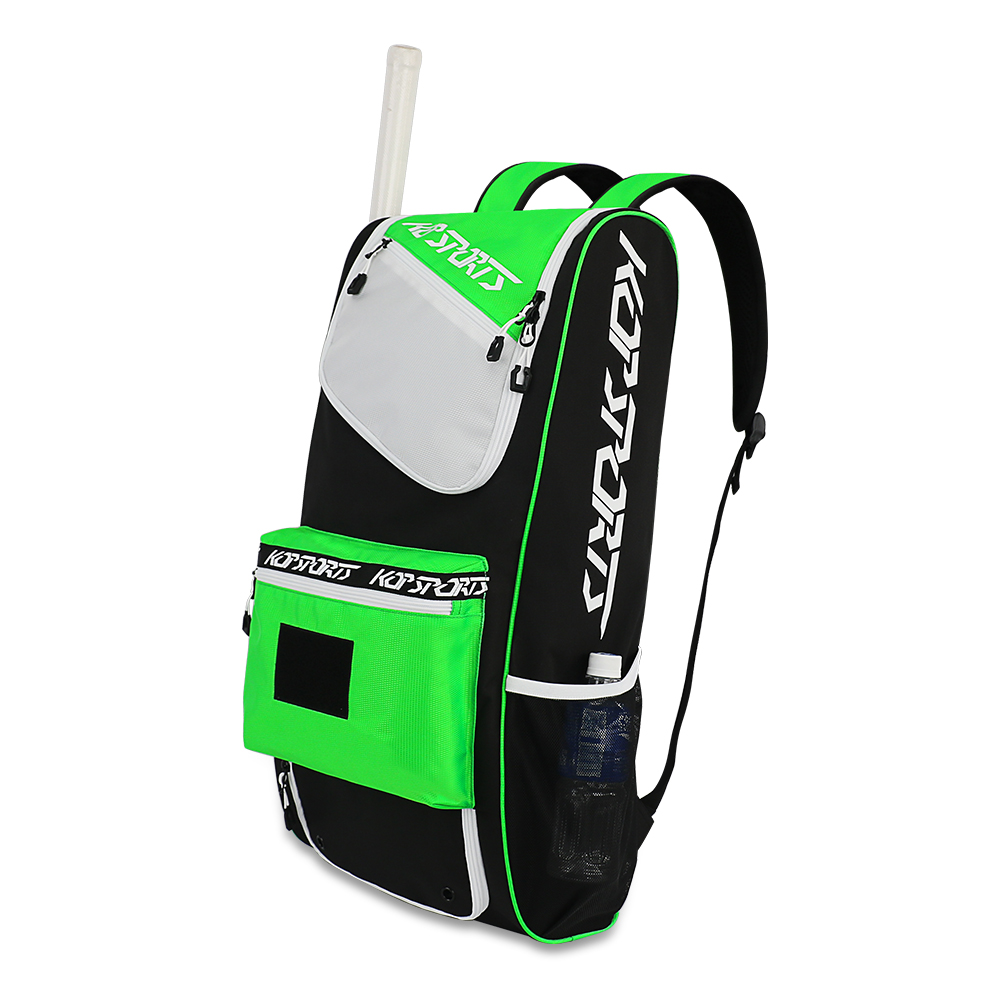
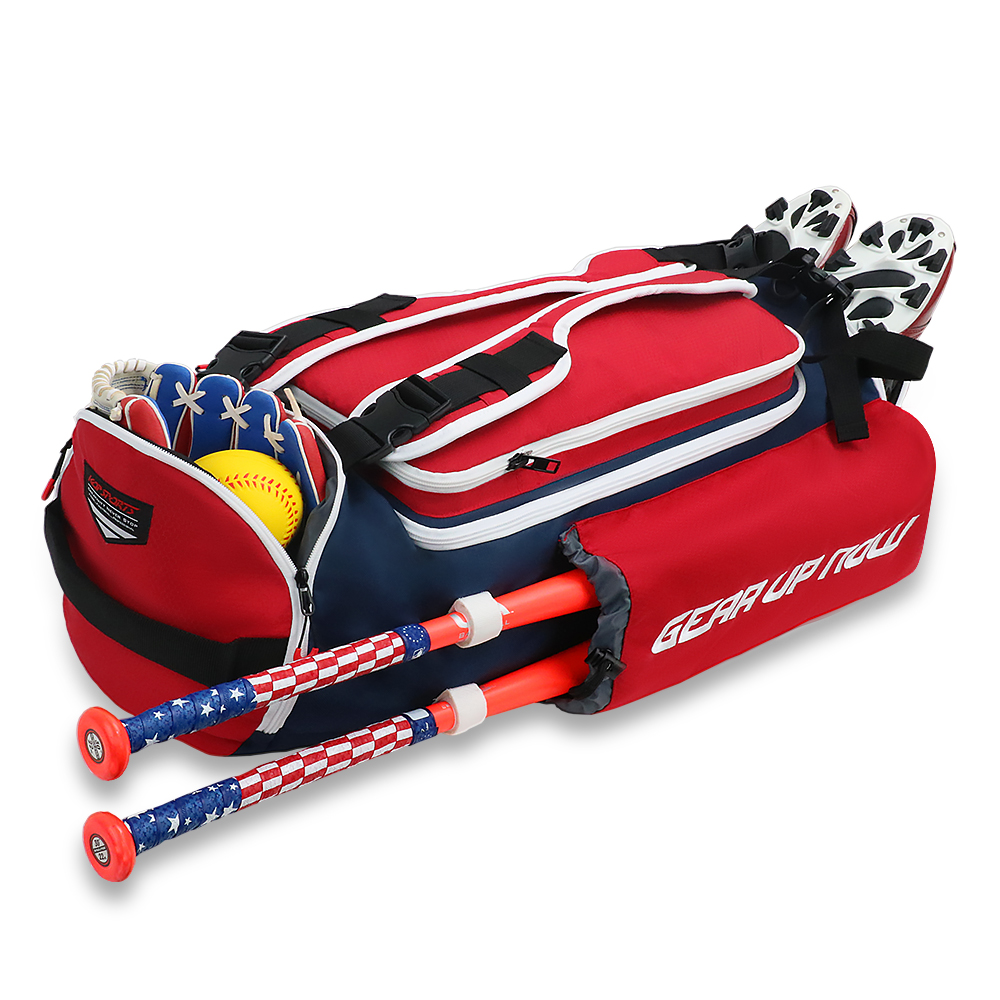
Use exterior bat sleeves or a dedicated side channel first when your baseball bag has them. Slide the barrel downward if the pocket is designed that way, then secure the handle end with the retention strap or closure provided. Separate bat storage keeps long gear from crossing the main opening every time you reach for a helmet or glove.
If your large baseball bag has no bat sleeves, create a bat lane along one inside wall. Place bats together in a slim bat cover or wrap their barrels with a soft garment, then position them before the main compartment fills. Do not lay them diagonally across the top: that arrangement makes the bag harder to close and turns every equipment check into a full unpack.
For two or more bats, check the bag’s balance after loading. A heavy side can make a shoulder carry awkward, while an uneven load can shift when the bag is lifted from a vehicle. If the bag will move over parking lots or tournament grounds, test the loaded carry route rather than judging it only while the bag is empty.
Protect the helmet without burying it
The helmet needs a stable home near the top or against a padded side of the main compartment. Start with the helmet open-side down or sideways, depending on the bag shape, so the shell is less likely to collect loose items. Fill the hollow lightly with soft gear such as batting gloves or a folded jersey. This uses space without turning the helmet into a container for hard objects.
Avoid packing cleats, baseballs, or a water bottle inside the helmet. Those pieces can rub against the shell and make it harder to grab. If the baseball bag has a separate helmet pocket, use it; if not, form a soft buffer with a towel or uniform around the helmet. The goal is not maximum padding in every situation. The goal is to stop the helmet from shifting while keeping it easy to remove before warm-ups.
Protection and access must be considered together. Adding more layers around the helmet may be sensible for crowded travel days, yet the same setup can slow a player who needs to change quickly at a local practice. Adjust the buffer to the trip rather than treating one arrangement as universal.
Build the main compartment from the bottom up
After bats and helmet have a place, load the main compartment in a simple sequence:
- Put bulky, lower-priority items at the bottom, such as a clean pair of cleats in a shoe pouch or a folded warm-up layer.
- Place the glove where it will not be crushed, often beside the helmet or on top of soft clothing.
- Keep a ball pouch or small organizer upright along an edge instead of scattering loose balls through the bag.
- Set the helmet in its planned zone and check that the opening remains clear.
- Finish with batting gloves, cap, lineup card supplies, and other first-out items near the zipper line.
That is the capacity side of the decision. The next question is whether the things needed at arrival remain visible when the baseball bag is full. Open the bag once after packing and try a practice sequence: remove the helmet, locate the glove, then retrieve one bat. If this takes more than a few motions, move the high-frequency item closer to the opening.
Use small pockets for specific actions
Small pockets are most helpful when each one answers a real moment in the routine. One may hold valuables that stay with the player; another may hold tape, a small first-aid kit, or a scorekeeping pen. Do not divide every item into its own pocket just because space is available. Too many tiny zones can make a large baseball bag harder to reset after a rushed practice.
A practical rule is to name the purpose of each pocket before the season begins. For example: front pocket for personal items, mesh pocket for a water bottle, interior pouch for batting accessories, and a separate shoe or wet-gear area when the bag provides one. If a pocket has no repeated purpose, leave it free for temporary items rather than filling it by habit.
Set a repacking routine after every session
Organization lasts only if the bag can be restored quickly. After practice or a game, remove trash and damp clothing first. Return bats to their lane, place the helmet back in its buffer zone, and let wet gear dry outside the bag when possible before the next use. A large baseball bag does not need to look perfectly staged; it needs to make tomorrow’s equipment easy to find.
For families or teams sharing a bag, add a simple identifier to the bat sleeve, helmet area, or small-item pouch. Clear labels reduce the chance that one person’s accessories disappear into another person’s gear. They also make a pre-departure check easier: bats secured, helmet accessible, glove present, footwear separated, and essentials near the top.
A final check before you leave
Close the baseball bag and lift it the way it will be carried. Notice whether bats stay put, the helmet does not slide into hard gear, and the main zipper closes without forcing it. Then open it once more and pull out the first three items you expect to use at the field. This small test exposes an inconvenient layout before you are standing beside a dugout.
The most reliable organization method is the one that matches your real sequence: pack long items first, stabilize the helmet, group soft gear around it, and keep the essentials near the opening. With that routine, a large baseball bag becomes a working equipment station instead of a deep catch-all compartment.

 Hot News