 EN


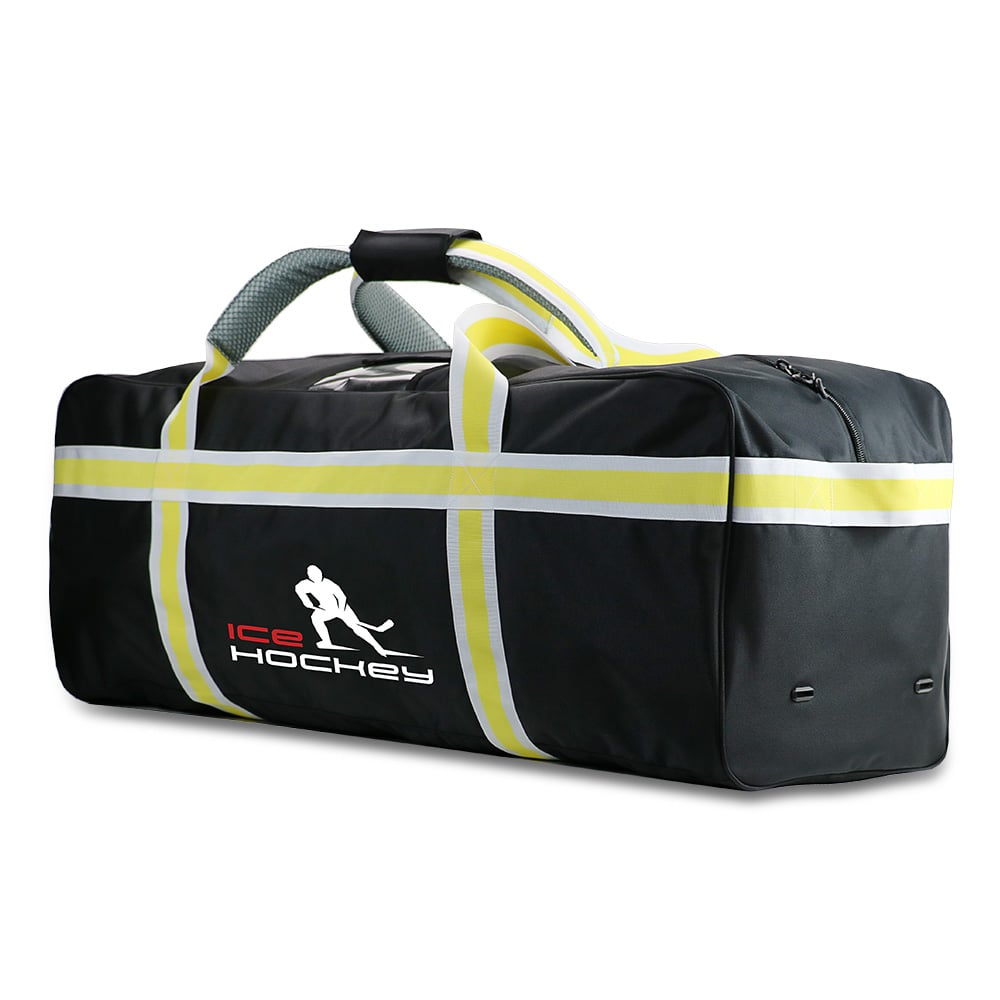
How to load a bulky hockey bag into a car trunk without straining your back?
A full hockey bag can be awkward rather than merely heavy. Pads, skates, a helmet, wet clothing, and the bag’s long shape can shift the center of mass just as you reach across a bumper. The safer approach is to treat loading as a short sequence: prepare the bag, set your stance, lift it close, and slide it into the trunk instead of trying to curl it upward at arm’s length.
From an active player’s viewpoint, the useful question is not whether a hockey bag fits in the car. It is whether you can repeat the loading routine after practice or a tournament day without turning, reaching, or rushing. This article offers general handling guidance, not medical advice. If you have pain, a recent injury, or a load you cannot control comfortably, stop and ask for help.
Why a packed hockey bag feels harder to load than expected
A bulky bag creates two problems at once: weight and distance. When the bag is on the ground, the handles may sit low. When the trunk floor is high or set behind a deep bumper, your hands can end up distant from your body. That extra reach makes a manageable hockey bag feel much less manageable.
There is another issue: the contents move. A skate or helmet can settle to one end, so the bag tilts as it leaves the ground. Before lifting, take a moment to find the heaviest end and decide which end will enter the trunk first. This small correction matters because it lets you guide the load rather than react to it halfway through the motion.
Prepare the bag and the trunk before you lift
Open the trunk fully and clear loose items from the loading area. Put the bag on the ground or a low surface with its strongest handles facing you. If the trunk has a cargo mat, a folded blanket, or a flat piece of cardboard available, place it where the bag will land. The goal is not to make the bag slide uncontrollably; it is to reduce the need to lift it high once it reaches bumper level.
Next, tighten or tuck loose straps. A dangling shoulder strap can catch on a bumper or wheel, forcing an unexpected twist. Keep hard or dense gear toward the end you plan to put into the trunk first, and keep a handhold clear. A large main compartment can help—more precisely, it helps when the equipment is packed consistently enough that the bag does not suddenly shift during the lift.
- Check that the path from bag to trunk is dry and free of loose gear.
- Choose a handle you can hold with both hands or a secure two-point grip.
- Move the car closer if possible rather than carrying the bag farther.
- Use wheels, a cart, or a second person when the full bag exceeds what you can control.
Use a close-body lift, then slide the bag in
Stand close to the hockey bag with your feet about shoulder width apart. Bend through your hips and knees, keep the bag close, and grip it firmly before you begin. Rise with your legs while keeping your torso facing the same direction as the load. Avoid twisting to “throw” the bag into the trunk; step your feet instead if you need to change direction.
At bumper height, pause. Rest the lower edge of the bag on the trunk lip or cargo floor if the vehicle layout allows it. Then use a controlled push or short slide to move the bag farther inside. This two-stage move is often easier to manage than lifting the entire bag from the ground to the back of the cargo space in one motion.
- Get close: position your body near the bag before you squat.
- Set the grip: use the main handles; do not pull on a thin strap that may shift.
- Stand without twisting: lift with a smooth leg-driven movement while keeping the bag near your midline.
- Make first contact: place the bag’s bottom edge on the trunk threshold or cargo floor.
- Slide, do not reach: push the bag inward while stepping closer, rather than stretching your arms into the trunk.
If the trunk floor is high, use a staging point. Set the bag on the bumper edge only when it is stable and you can control it, then reset your hands before sliding it in. Do not balance it precariously while you reposition. What matters is a calm sequence, not one fast lift.
Adjust the method for your vehicle and bag style
Low trunk opening
A low sedan trunk may require you to bend less at the lift but more during the slide. Keep the hockey bag close until it contacts the trunk floor, then guide it forward with short pushes. If the opening is narrow, angle the bag gradually rather than twisting your back to force it through.
High SUV or crossover cargo floor
A higher cargo floor increases the vertical lift. If the bag is awkward at this height, a second person is the sensible choice. One person can steady the far end while the other handles the near end, with both people communicating before lifting. If you are alone, reduce the load first by moving a few dense items separately when that is practical.
Wheeled or long-format bags
Wheels can reduce the carry distance, but they do not remove the need to control the bag at the trunk. For a wheeled hockey bag, guide the wheel end onto the cargo floor first if that keeps the bag stable. For a long bag, check the diagonal path through the opening before you lift so you are not holding it up while searching for an angle.
Common loading mistakes to avoid
The most common mistake is reaching from too great a distance. Another is loading after practice with a rushed, fatigued posture. If the bag feels unstable, set it down and repack or get help. A one-minute reset is preferable to a hurried lift that requires you to twist while carrying the full load.
- Do not lift and rotate your torso at the same time.
- Do not pull the bag into the trunk with your arms fully extended.
- Do not use a loose strap as the only lifting point.
- Do not assume a bigger bag is easier to manage when full; packing order and hand access matter.
- Do not load a bag over shoulder height by yourself if you cannot keep it close and controlled.
Make the next load easier when you pack
Loading safety begins before you reach the car. Put frequently removed items where you can access them without emptying the bag at the trunk. Keep wet gear separated when the bag design and your routine allow it, and avoid putting every heavy item at the very bottom if that makes the bag lopsided. The aim is a stable hockey bag with a predictable heavy end and accessible handles.
If you are choosing or specifying a sports bag, test the intended routine with representative equipment: pack it, roll or carry it to a vehicle, lift it to the expected trunk height, and unload it. That real sequence reveals whether handles, bag shape, and storage layout work together. It is a more useful check than judging empty-bag capacity alone.
A practical trunk-loading checklist
Before leaving for the rink, ask: Can I grip the loaded bag securely? Is the route clear? Which end goes in first? Can I make contact with the trunk before I need to reach? If any answer is no, lighten the load, change the orientation, or ask someone to help.
A reliable hockey bag loading routine is built around control: keep the load close, move your feet instead of twisting, use the trunk edge as a staging point when appropriate, and divide the lift into manageable steps. Those choices support safer handling while still getting your gear ready for the next session.
 Hot News